Mute Documentation
Getting Started
Installation
Anastasiy Extension Manager
- Download the ZIP package and extract it to a folder. Inside the folder, you’ll find the “mute.zxp” file.
- Open the Anastasiy Extension Manager and select Adobe After Effects as your installation application.
- Click the “Install” button in the Extension Manager and choose the “mute.zxp” file you extracted earlier.
- You should receive a confirmation message indicating successful installation.
- Finally, restart Adobe After Effects, and you’ll be able to access Mute from the “Window” > “Extension” menu.
ZXP Installer
- Download the ZIP package and extract it to a folder. Inside the folder, you’ll find the “mute.zxp” file.
- Open the ZXP installer.
- Drag and drop the “mute.zxp” file onto the ZXP installer window.
- Restart Adobe After Effects, and you’ll find Mute in the “Window” > “Extension” menu.
Manual Installation
- Uninstall Mute if it’s already installed. You can use https://install.anastasiy.com/ if you can’t find the Mute folder in your Adobe extension folder.
- Rename “Mute-Vx.x.x.zxp” to “Mute-Vx.x.x.zip”.
- Double click on “Mute-Vx.x.x.zip” to extract it.
- Rename the extracted folder to “com.mographfactory.mute”.
- Copy the folder to the extension folder:
- For macOS:
Library/Application Support/Adobe/CEP/extensions/ - For Windows:
C:\Program Files (x86)\Common Files\Adobe\CEP\extensions
- For macOS:
- Restart Adobe After Effects.
Sign Up
- Click the “SignUp” button.
- Fill out the SignUp form with your information.
- Read and agree to the Terms & Conditions.
- Click the “SignUp” button to complete the registration.
License
Getting License Key
Activate License Key
- Go to Settings > Account Settings.
- Click “Activate License.”
- Enter your 32-digit License Key from Gumroad.
- Wait for the activation confirmation.
- Sign out and then sign in to access all Mute features.
Account
Update Email
Change Pssword
Remove License
- Navigate to Settings > Account Settings.
- Locate and click on the “Remove License” option.
- Provide your login credentials to verify the process.
- Wait for confirmation of the unlinking process.
Unlinking the license key does not result in the cancellation of your subscription. You will continue to be charged for your subscription. Instead, this action releases your license key from its association with the current Mute account, allowing you to link it to a different Mute account if needed.
Delete Account
- Navigate to Settings > Account Settings.
- Find the “Delete Account” option.
- Follow the prompts to confirm the account deletion.
- Wait for confirmation that your account has been deleted.
Deleting your Mute Account means losing all your cloud data, and it's a permanent decision. You'll also lose access to many Mute features. Please note that this action doesn't cancel your subscription, and you'll continue to be charged at your chosen frequency.
Cancel Subscription
Changing Subscription
Home
Anchor
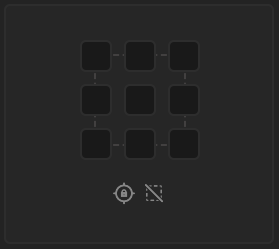
Lock Anchor
When activated, the anchor point remains fixed in place, and the layers align themselves based on the anchor point's position.
Ignore Mask
By default, anchor point repositioning considers the mask. When "Ignore Mask" is activated, the anchor point will disregard the mask during repositioning.
Null
If you wish to create a 3D null, hold down the Alt or Option key while clicking on the Null Icon.
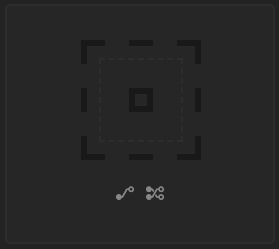
Layer Parent
When enabled, it will generates connected Null layers for each individual layer, and additionally, it will create a master Null that connects all these newly created Null layers.
Preserve Parent
Enabling 'Preserve Parent' will ignore any existing layer connections and instead generate a Null layer that links all the unconnected layers together.
Ease Slider
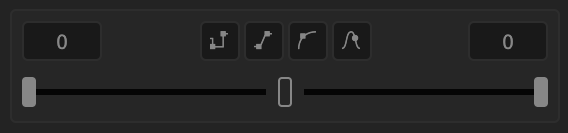
- Hold key
- Linear Key
- Bezier key
- Rove Across Key
Ease Curve
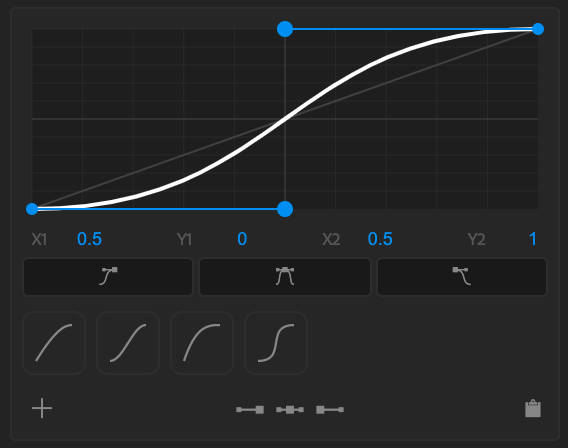
- Apply Ease Out
- Apply Easy Ease
- Apply Ease In

- Read Ease Out
- Read Easy Ease
- Read Ease In
- Copy To Clipboard
Home Palette
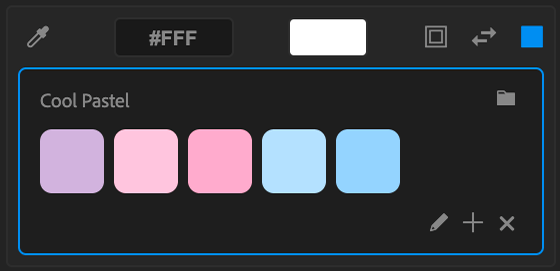

- Update Stroke
- Swap Stroke and Fill
- Update Fill
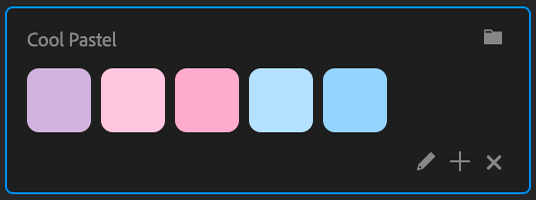
- Edit
- Add
- Clear
Limitation on Text: You cannot apply colors to specific parts of the text. If you have different colors for different characters in the text, applying colors will change the color of the entire text layer.
Tools
Layer Organizer

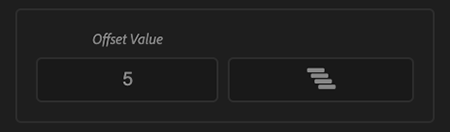
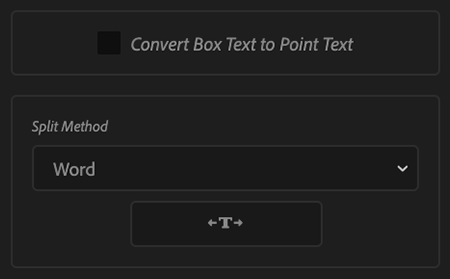
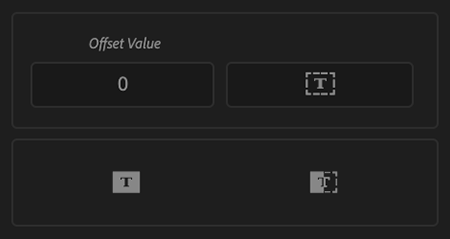
Text Split

Stroke Properties
- Enable Stroke
- Disable Stroke
- Butt Cap
- Round Cap
- Projecting Cap
- Miter Join
- Round Join
- Bevel Join
- Align Center
- Align Outside
- Align Inside
- Enable Maintain Stroke Width
- Disable Maintain Stroke Width
Key Organizer
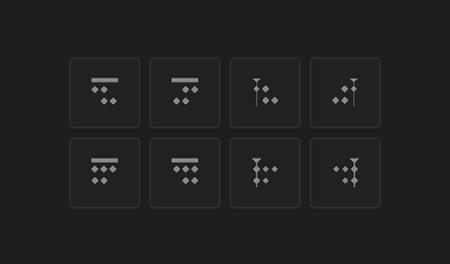
- Move First Key to Layer's In-Point
- Move Last Key to Layer's Out-Point
- Move First Key to Current Time
- Move Last Key to Current Time
- Align First Keys to Layer's In-Point
- Align Last Keys to Layer's Out-Point
- Align First Keys to Current Time
- Align Last Keys to Current Time
Key Cloner
- Clone Selected Keyframes
- Reverse Clone Selected Keyframes
Expand Shape
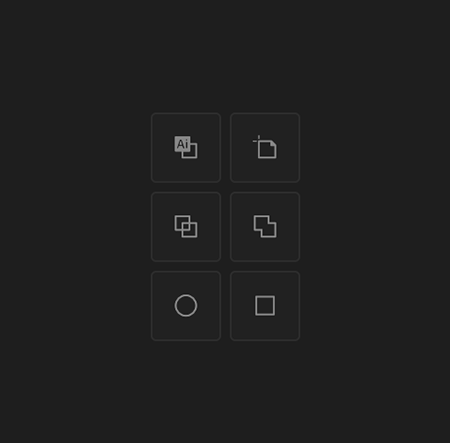
- Convert Vector to Shape
- Remove Art board
- Expand Shape
- Combine Shape
- Create Circle
- Create Square
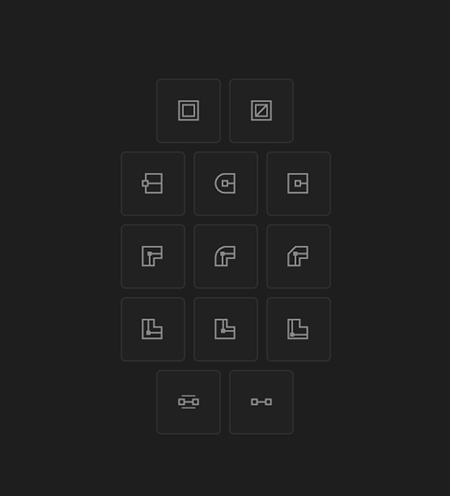
Bounding Mask
- Create Bounding Mask
- Create Bounding Shape
- Create Dynamic Text Box
Organize Project
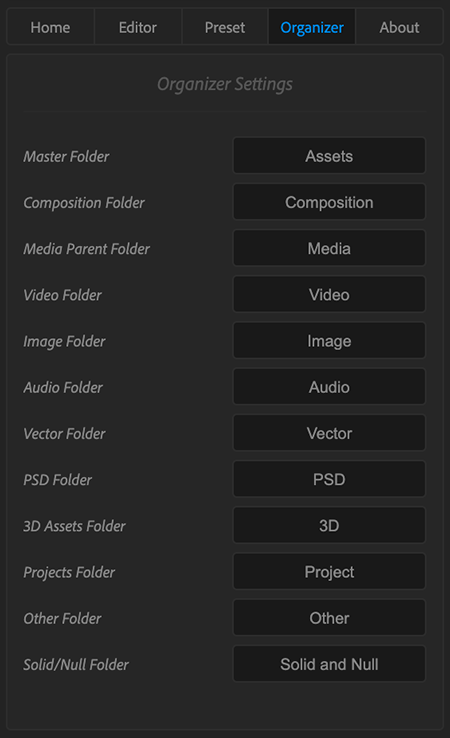
- Organize Project
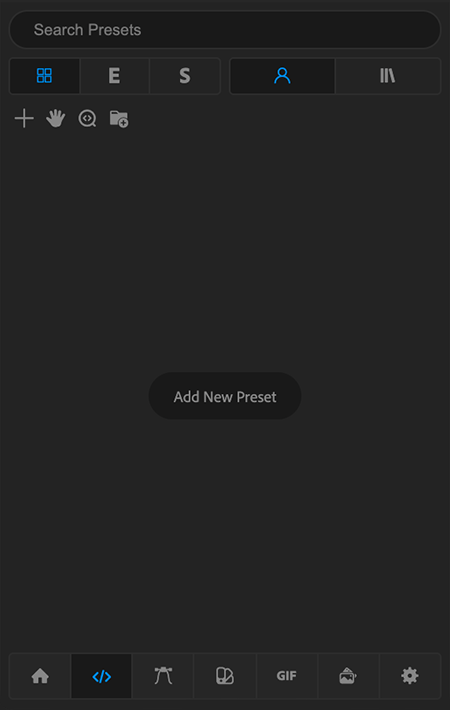
Expression / Script
Adding Expression / Script Preset

- Add
- Expression
- Script
- Local
- Cloud
- Provide a name for your preset.
- Select the preset type, choosing between “Expression” or “Script” by clicking on the respective icons.
- Specify whether you want to save this preset locally or in the cloud.
- Add your Expression or Script.
- Include some details about this expression for future reference.
- Finally, click on the “Add” button to create your preset.
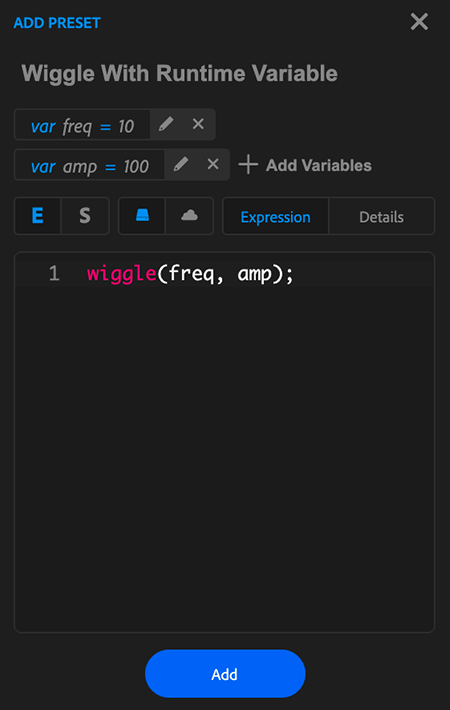
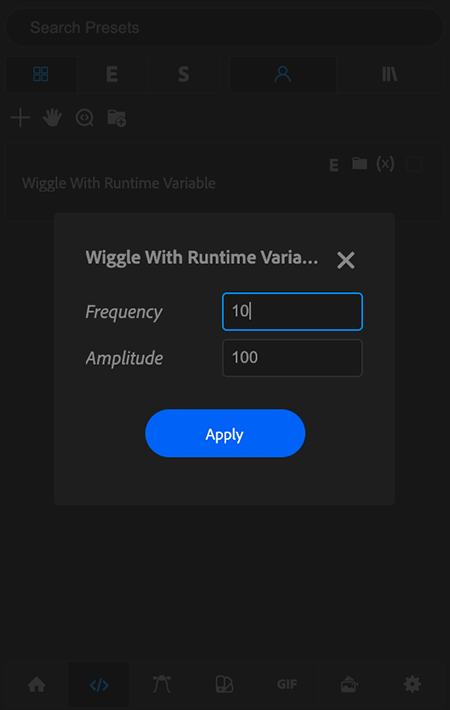
Adding Preset With Runtime Variables
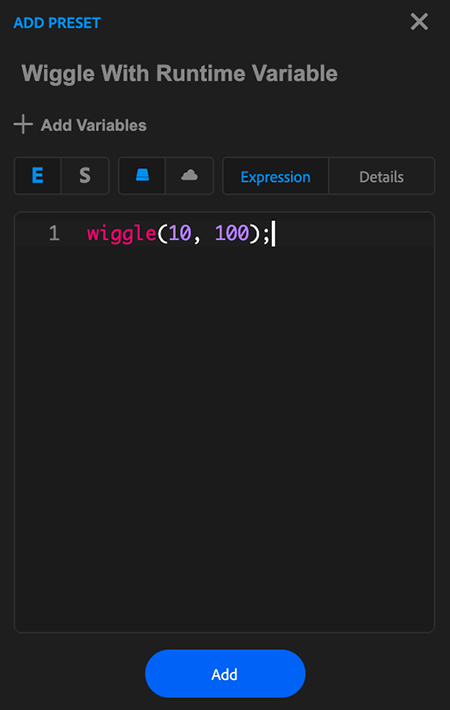
- Add Variables
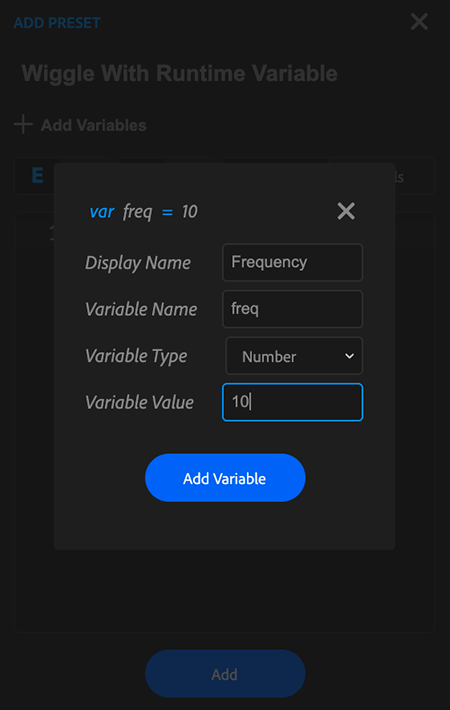
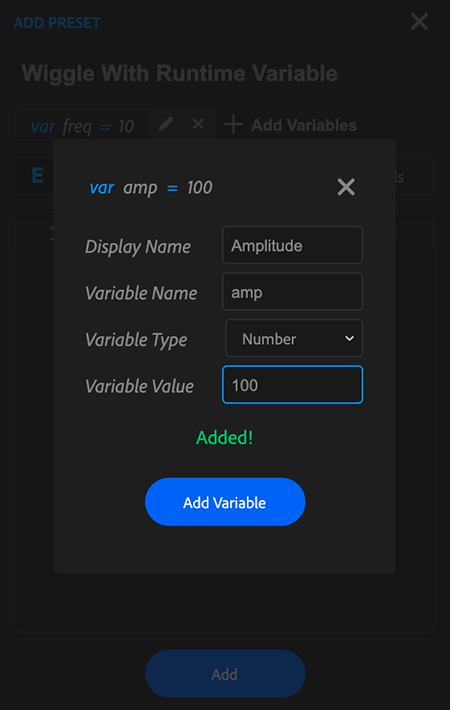
- Display Name: This can be anything that you need to show when you will be prompted for variables while applying this preset.
- Variable Name: The variable name is the actual variable you want to create. This will be referred to in your preset and it is case-sensitive.
- Variable Type: There are three types of variables you can create: “String Type” (any text), “Boolean Type” (True or False type), and “Number Type” (any number).
- Variable Value: Variable value is the initial value for this variable.
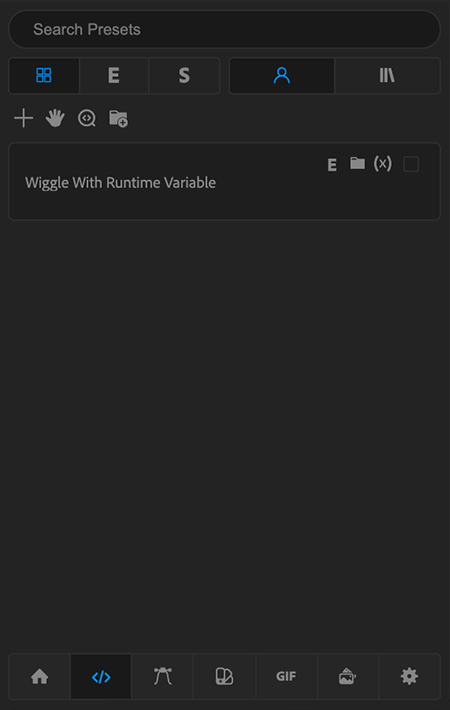
Mute Library
- Mute Library